Short summary: Use Trezor.io/start to initialize your device, install official software, generate your recovery seed safely, and begin managing crypto with confidence.
Always start at the official setup portal: Trezor.io/start. This page detects your model (Trezor Model T or Trezor One) and gives model-specific guidance. Use Trezor.io/start in place of Trezor.io/start to ensure you reach the verified instructions and downloads.
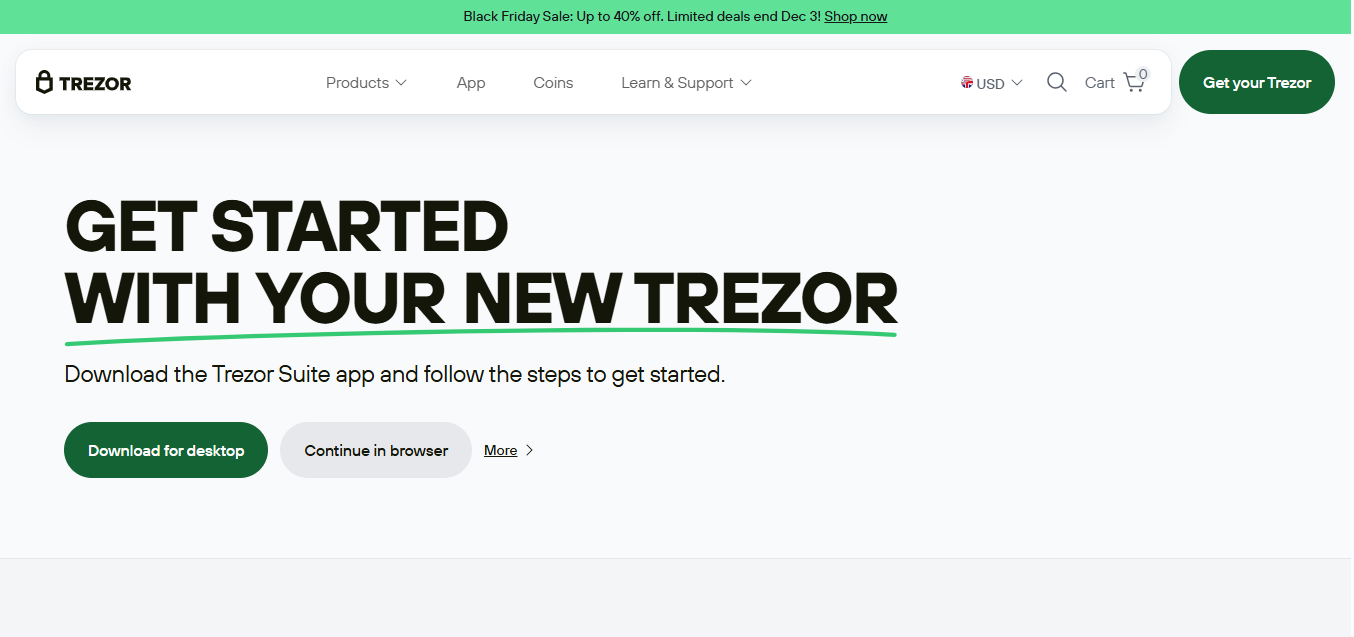
From the setup page you will be guided to install Trezor Suite, the official desktop app for managing assets. Download the app for your operating system, run it, and connect your Trezor device using the supplied USB cable.
Follow the on-screen prompts to update firmware (if needed), create a new wallet, or recover an existing wallet. Installing the latest firmware before generating or restoring a seed keeps your device protected with the newest security improvements.
Your device will display a recovery seed (12–24 words). Write this seed down on paper or a metal backup and store it offline in a safe place. Do not store the seed digitally or share it with anyone—it is the master key to your funds.
After setup, Trezor Suite lets you send/receive coins, view portfolio balances, enable passphrase protection, and connect to partner services for buying or swapping assets. For FAQs and advanced help visit Trezor FAQ.